The Best Workflow for Stampinator and DTF Transfers
Share
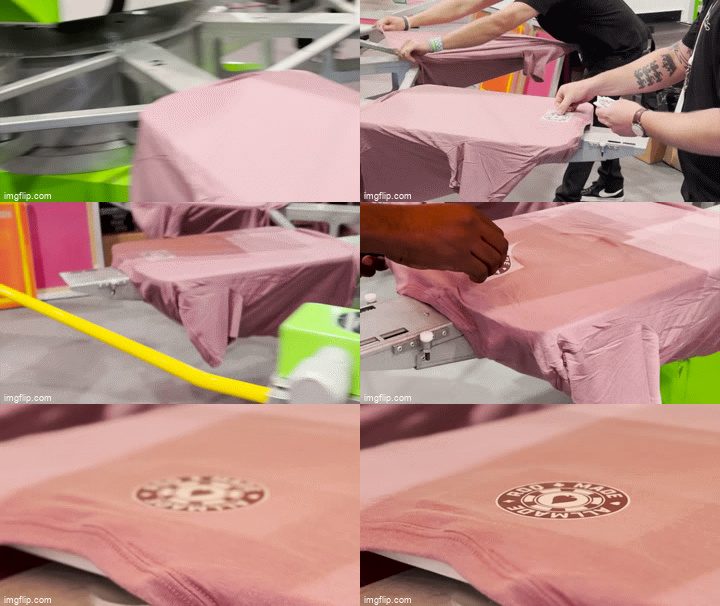
The Stampinator provides the ultimate workflow for DTF transfer application if you properly configure your press and arrange your workflow to accomplish it. Here are the 4 steps needed to maximize your DFT transfer application with the Stampinator on an automatic press. This can be accomplished with one or two operators depending on how fast you want to go.
- Silicon rubber for your platens: For complex transfers adding silicon rubber to the top of your platens allows for better pressure and heat to properly bond. This also increases the pressure needed for proper transfer application. You can order silicon rubber pads for your press here.
-
Stampinator Ppositioning: When using the Stampinator for hot peel transfers, it is best to have in the final print head before the unload station to allow for immediate transfer peel. For cold peel transfers, put the Stampinator in the first print station.
- Staging: Be sure to stage your garments and transfers so you can easily load and unload the transfer. Use of lasers in transfer loading is suggested. It is also important to have at recycle bin or trash can next to your unload station so you can easily toss the transfer paper.
- Settings for Stampinator transfer application: Depending on your DTF transfer, you will need a heavy pressure as well as the correct time and temp. We recommend starting at factory recommendations and increasing by 5 degree increments if you are having peeling issues.
- Workflow can be accomplished by one or two operators:
- Load Station
- Load the Garments
- Place the Transfer
- Unload Station
- Peel the Transfer
- Place the Transfer
